How to create (or renew) an Apple Certificate for APN (Apple Push Notification) Services … and prepare it in a way that it can be used by an APN Server (in this example a production server written in PHP)
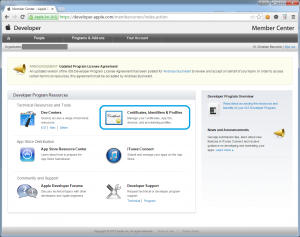
1) Log in on Apple Developer Center
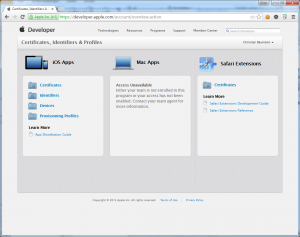
2) Got to „Certificates, Identifiers & Profiles“
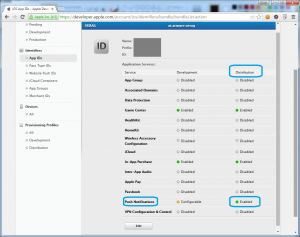
3) Verify that the chosen App can be used with Push: Select „App IDs“ and check, if „Push Notifications“ is enabled in „Distribution“
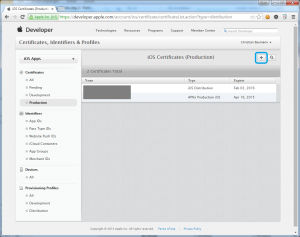
4) Generate the Certificate: Go to Certificates – Production and select „+“
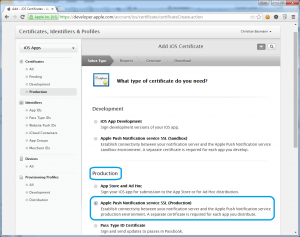
5) Choose Certificate type: in our case „Apple Push Notification SSL (Production)“ and „Continue“
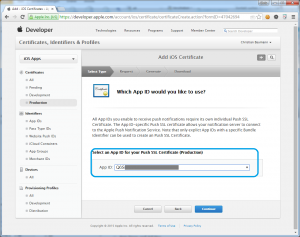
6) Select the desired App ID and „Continue“
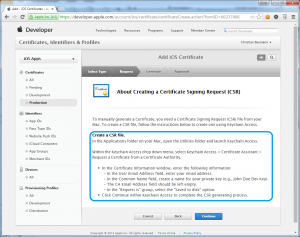
7) Create a CSR by following the description using Keychain („Schlüsselbundverwaltung“ on OSX), save the file (e.g. „ProjectName_Prod_APN_2015041.certSigningRequest“) and „Continue“
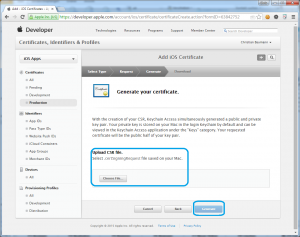
8) Upload the CSR-File and „Generate“
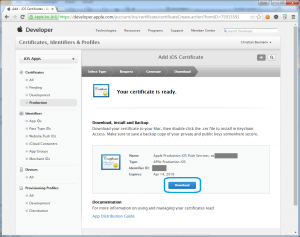
9) Download the generated Certificate (its default name is „aps_production.cer“)
10) Open the Certificate with Keychain („Schlüsselbundverwaltung“), this imports the Certificate.
11) Export the Certificate and the private key as PKCS12 (.p12) File. Enter a protection password for the private key.
12) Convert the PKCS12 File to a .pem file using the following command:
openssl pkcs12 -in ProjectName_Prod_APN_20150415.p12 –out ProjectName_Prod_APN_20150115.pem -clcerts
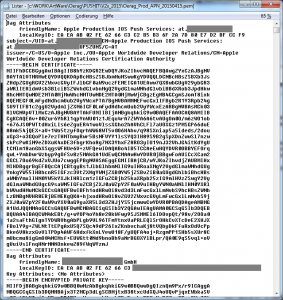
You now have the certificate and encrypted private key in a pem file for use with your server:
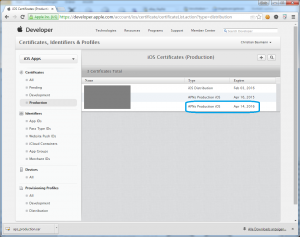
13) You can check the new certificate (and validity) in the certificates list
Uff … done 😉
